
A logo with a transparent background is one of the most practically useful digital assets a business can have. It places cleanly on any color surface, any photo, any website background, without the ugly white box that appears when a logo with a white background is placed on something that is not white. If you’re planning to place your logo on images for marketing or social media, you may also find our guide on how to add a logo to a picture helpful.
This guide covers how to make a logo background transparent across several different tools, what file format you need to save it in to preserve the transparency, and common mistakes that cause the transparent background to reappear or look wrong.
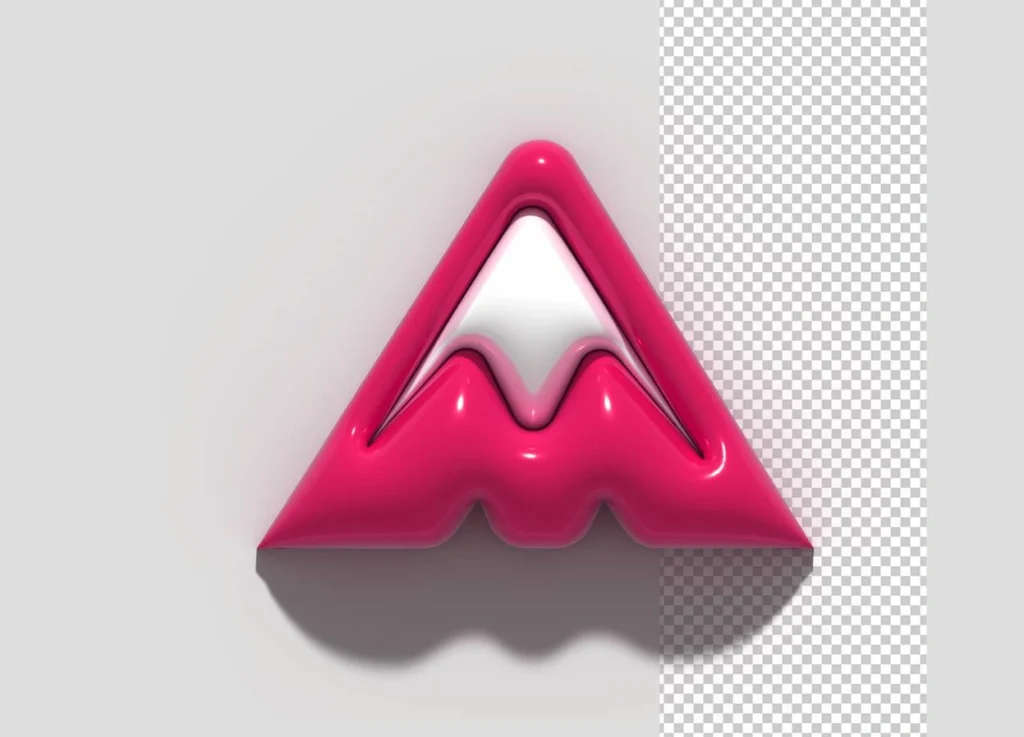
Why Transparent Backgrounds Matter
The Problem with White-Background Logos
Where White Backgrounds Cause Problems
A logo saved as a JPEG always has a background, because JPEG does not support transparency. When that logo is placed on a colored surface, a patterned background, or a photograph, the white rectangle around the logo appears, looking unprofessional and making it obvious the logo was not properly prepared. This is one of the most common visual mistakes in business branding materials.
Removing the logo background and saving it as a PNG with transparency solves this permanently. The logo can then be placed on anything without the white box, matching whatever surface it sits on.
The Right File Format for Transparent Logos
PNG Is the Answer
Why PNG and Not JPEG
JPEG files do not support transparency. If you remove the background from a logo and save it as a JPEG, the transparency will be filled in with a white or gray color, and the background will reappear. PNG is the correct format for logos with transparent backgrounds because it supports an alpha channel, which is the technical mechanism that stores transparency information.
SVG Is Even Better for Most Uses
SVG (Scalable Vector Graphics) is the best format for logos that need transparent backgrounds because it is a vector format, it supports transparency natively, and it scales to any size without quality loss. If your logo exists in SVG format, transparency is already built in wherever there is no colored fill. For web use in particular, SVG with transparency is superior to PNG because of its resolution independence. To get the best visual quality across different devices, it’s also worth understanding how many pixels a logo should be for various digital applications.
How to Remove a Logo Background: By Tool
Method 1: Adobe Photoshop
The Professional Standard
Photoshop gives the most control over background removal and handles complex logos with textured or gradient backgrounds more accurately than automated tools. The most reliable approach for logos in Photoshop uses the Select Subject or Object Selection tool for the logo mark itself, then inverts the selection to select the background, and deletes it. Save the finished file as PNG with the Transparency option enabled.
Step-by-Step in Photoshop
- Open the logo file in Photoshop
- If the file has a Background layer (locked), double-click it to convert it to a regular layer
- Use Select > Subject or the Magic Wand tool to select the background area
- Refine the selection with Select and Mask if edges need cleaning
- Press Delete or Backspace to remove the selected background
- Deselect (Ctrl+D or Cmd+D) and save as PNG with Save As, choosing PNG format
Method 2: Canva
The Accessible No-Subscription Option
Canva’s Background Remover tool (available on Canva Pro) automatically detects and removes backgrounds from uploaded images with a single click. For simple logos on solid white or light backgrounds, the automatic tool works reliably with minimal manual correction needed. The result can be downloaded as a PNG with a transparent background directly from Canva.
Method 3: Remove.bg
The Fastest Automated Option
Remove.bg is an online tool that uses AI to automatically remove backgrounds from images. It works well for logos on solid backgrounds and for photographic images with clear foreground and background separation. Upload the logo, and the background is removed automatically, and the result downloads as a PNG with a transparent background. The free tier has resolution limits; the paid tier removes these limits.
Method 4: GIMP (Free Alternative to Photoshop)
The Free Desktop Option
GIMP is a free, open-source image editing tool that supports transparency and can remove logo backgrounds using fuzzy select (similar to magic wand) or by color selection. The process is similar to Photoshop: select the background, delete it, and export as PNG. GIMP’s interface is less polished than Photoshop but the capability is equivalent for basic background removal.

Tool Comparison for Background Removal
| Tool | Cost | Best For | Transparency Output |
| Adobe Photoshop | $55/month (Creative Cloud) | Complex logos needing precise edge control | PNG with alpha channel; SVG |
| Canva Pro | $15/month | Simple logos; quick automated removal | PNG with transparent background |
| Remove.bg | Free (limited) or paid | Fast automated removal for simple backgrounds | PNG with transparent background |
| GIMP | Free | Desktop editing without subscription cost | PNG with alpha channel |
| Adobe Express | Free tier available | Simple social media and marketing use cases | PNG with transparent background |
Common Mistakes That Ruin Transparent Backgrounds
What Goes Wrong and How to Avoid It
Saving as JPEG After Removing the Background
The most common mistake is removing the background correctly and then saving or exporting the file as JPEG, which does not support transparency. The export step will fill the transparent area with white or another color, and the background will reappear. Always save transparent logo files as PNG or SVG.
Incomplete Background Removal
Automated background removal tools sometimes leave behind fringing: a slightly visible edge of the original background color around the logo mark. This appears as a faint halo when the logo is placed on a colored background different from the original. Checking the logo on a bright or dark colored background (not just white) after background removal reveals any remaining fringing that needs to be cleaned up.
Transparency Check Checklist
- After removing the background, place the logo on a colored background (try both dark and light) to confirm no white fringing or residual background is visible
- Confirm the file is saved as PNG or SVG, not JPEG
- Verify the file size is reasonable: a small PNG file may have been automatically saved with a white fill rather than true transparency
- Open the file in an image viewer that displays transparency (a checkerboard pattern where the background should be) to confirm the transparent areas are genuinely transparent
When to Request a Transparent Logo from Your Designer
Getting the Right Files from the Start
- Request a PNG with a transparent background as part of your logo file delivery
- Request the SVG source file for maximum flexibility in digital applications
- If your designer delivers only a JPEG or a PDF, ask specifically for a transparent PNG version
- Check the delivered file by opening it in an application that shows transparency before the designer closes out the project
If you’re commissioning a new logo and want these file formats included from the beginning, it’s useful to understand how much logo design costs with freelancers vs. agencies, as pricing often depends on the number of file formats and deliverables included.

Final Thoughts
Knowing how to remove a logo background and save it correctly as a transparent PNG is a basic digital asset management skill that saves significant time and prevents the unprofessional white-box problem across every context your logo appears in. The process is achievable in multiple tools at different price points, and the result, a logo that places cleanly on any surface, is worth the effort.
Tailored Logo Designs delivers complete logo packages including transparent background PNG files and vector SVG files as standard. If your logo files need to be updated or you need a new logo built for maximum format flexibility, reach out to us.
FAQs
1. How do I make a logo background transparent?
Open the logo in an image editing tool (Photoshop, GIMP, Canva, or an online tool like Remove.bg), select and delete the background area, and save or export the result as a PNG file. PNG supports transparency; JPEG does not.
2. What file format should I use for a transparent logo?
PNG is the standard raster format for logos with transparent backgrounds. SVG is even better for web use because it is vector-based and resolution-independent. Never save a transparent logo as JPEG, which does not support transparency and will fill the background with white.
3. Why does my logo still show a white background after I remove it?
Most likely the file was saved as JPEG instead of PNG, which automatically fills transparent areas with white. It may also mean the background was not fully removed, and fringing remains. Check by opening the file in an application that displays a checkerboard pattern where transparency should be.
4. What is the easiest free tool to remove a logo background?
Remove.bg is the fastest automated option for simple logos and is free for standard resolution output. GIMP is a free desktop tool that provides more control for complex backgrounds.
5. How do I check if my logo background is genuinely transparent?
Place the logo file on a colored background (not white) in any design tool or image editor. If a white rectangle or any background color appears around the logo mark, the background was not fully removed or was not saved in a format that supports transparency. A checkerboard pattern in the transparent areas confirms true transparency.